Lab 5 - Transformation Matrices
The base code for this lab can be found on GitHub here
This assignment is due on Wednesday 2/7.
Today we will explore transformation matrices and practice transforming (trans- lating, scaling, and rotating) objects. We will not be using eigen today but will be implementing all matrix functions ourselves. We will use more of the built in transform tools in eigen in the next lab.
Please download the code above for lab 5 and go over the code. The code is very similar to your lab 3 code however it can now display meshes in 3D.
First, look at the vertex shader. Note how the vertex colors are computed from the vertex normals. These normals come from the .obj file. Also, note that the vertex positions are multiplied by two uniform 4x4 matrices, P and MV. P is the “projection” matrix, and MV is the “modelview” matrix. By changing what is passed into the modelview matrix, we can move the vertices around (and thus the object). We will not be modifying the projection matrix in this lab.
Now look at main.cpp and Shape.cpp. Note how we are loading an .obj file with
the vertex normals and not just vertex positions. In the .obj file, the normals are
specified using the vn lines. Unlike previous labs, we are using an index buffer to
draw the triangles (glDrawElements() vs. glDrawArrays()), which is more efficient.
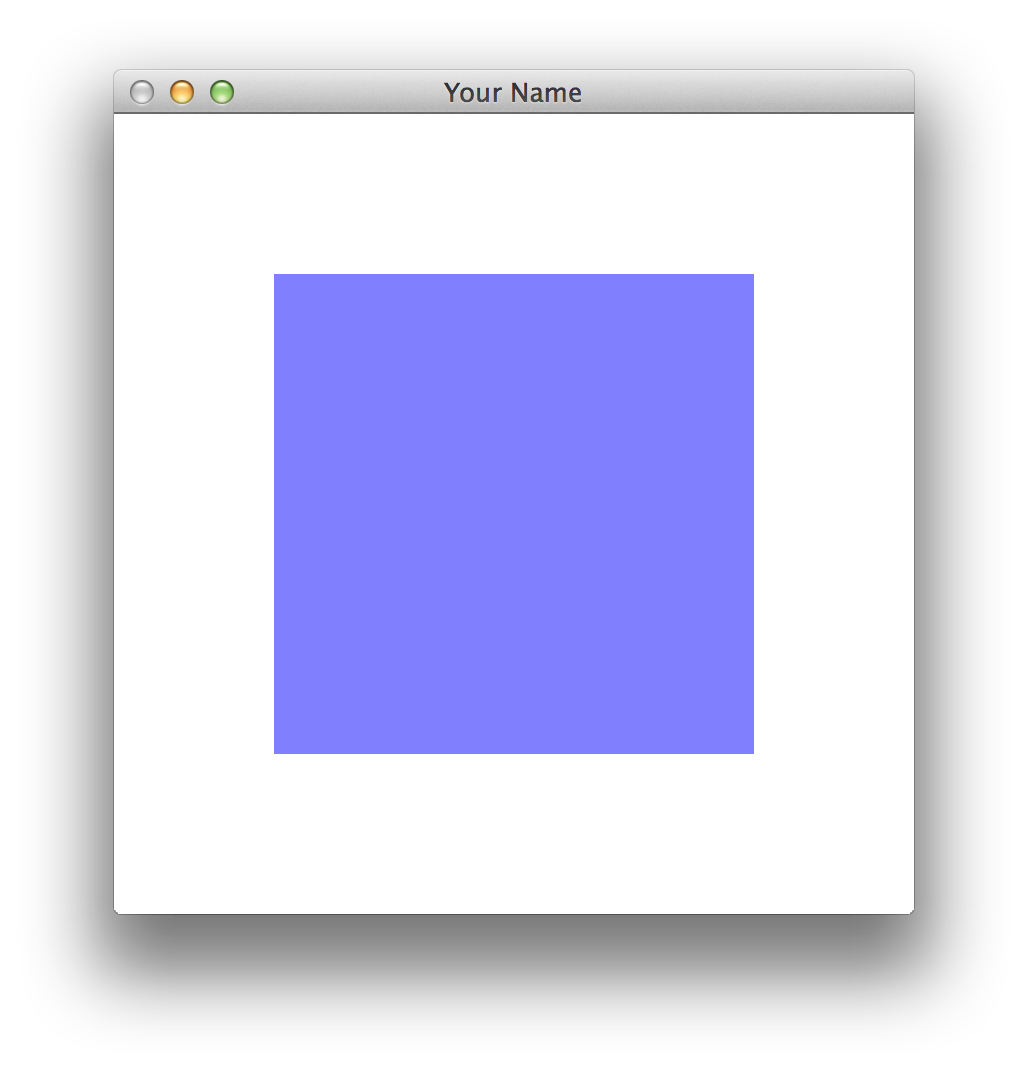
Without any modifications, the program draws the backside of the cube (the
camera is inside the cube), because the 4x4 modelview matrix is initialized to the
identity in render().
Task 1:
Implement createTranslateMat() to move the mesh back to see it as a cube.
OpenGL uses column ordering, which means that the elements of the 4x4 matrix
are stored in a one-dimensional array using the following scheme.
To access the th element, you should use A[i+4*j].
This function, and others you implement in this lab, should set all 16 components of the matrix, even if they are zeros. In other words, assume that the input matrix has garbage values in them.
Test to see that, since createIdentityMat() is called before passing in the matrix to
the vertex shader (i.e., before glUniformMatrix4fv()), you’ll see something like
this.
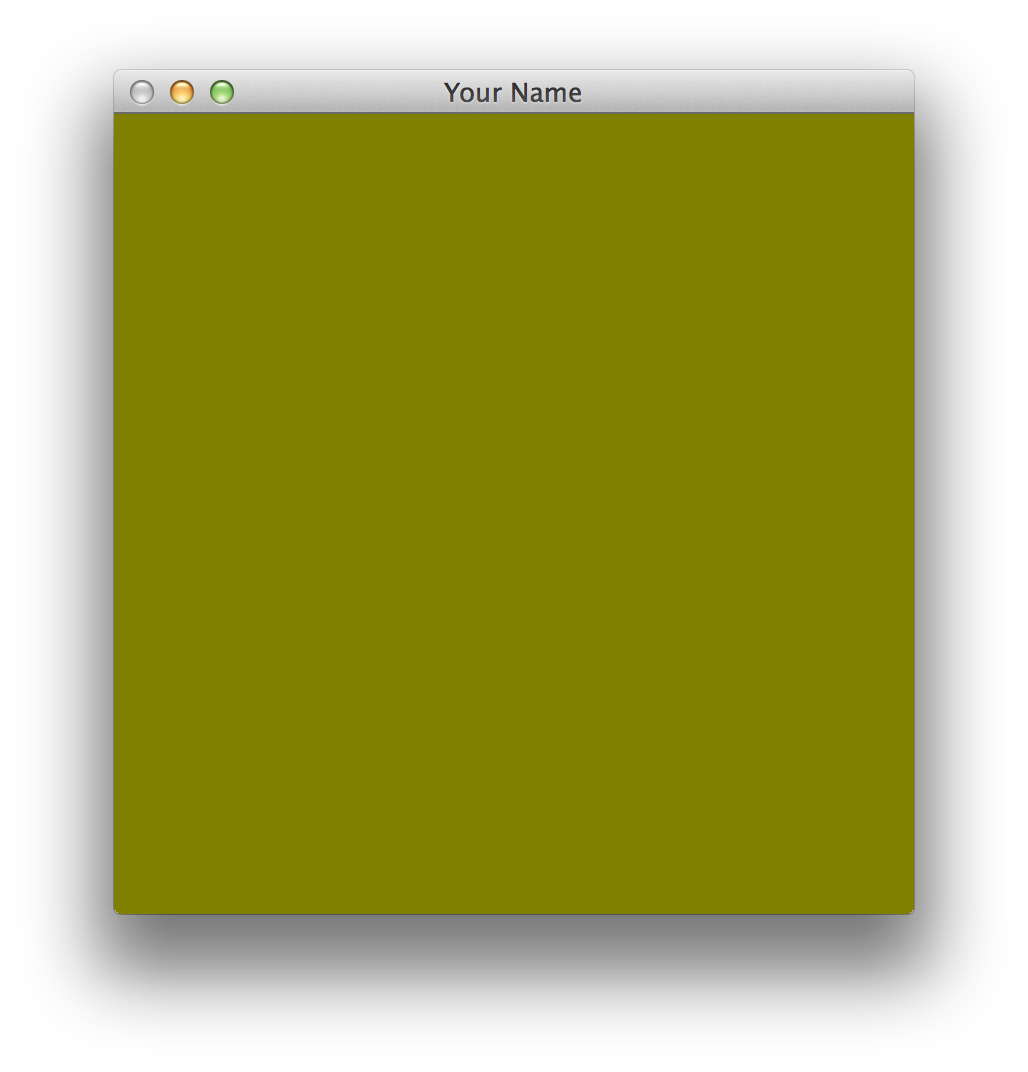
Because the default camera is at the origin looking down the z-axis, you’re inside the cube, and you’re seeing the back side of the cube. Implement createTrans- lateMat() and move the cube back in the negative z direction by a few units. Re- member that this function creates a translation matrix and returns it in the 1 st ar- gument. It does not translate the input matrix. Once you have it implemented, call the function instead of createIdentityMat(), and you should see the front of the cube.
Each face has a different color because we’re using the normal to set the color in the vertex shader.
Task 2:
Implement createScaleMat(), createRotationMatX(), createRotationMatY(), and
createRotationMatZ(). For debugging, you can use the printMat() function.
Implement multMat().
To test your matrix multiply code, try this:
float A[16], B[16], C[16];
for(int i = 0; i < 16; ++i) { A[i] = i; }
for(int i = 0; i < 16; ++i) { B[i] = i*i; }
multMat(C, A, B);
printMat(A, "A");
printMat(B, "B");
printMat(C, "C");
The output should be this:
A=[
0.00 4.00 8.00 12.00
1.00 5.00 9.00 13.00
2.00 6.00 10.00 14.00
3.00 7.00 11.00 15.00
];
B=[
0.00 16.00 64.00 144.00
1.00 25.00 81.00 169.00
4.00 36.00 100.00 196.00
9.00 49.00 121.00 225.00
];
C=[
144.00 976.00 2576.00 4944.00
158.00 1102.00 2942.00 5678.00
172.00 1228.00 3308.00 6412.00
186.00 1354.00 3674.00 7146.00
];
Note that you cannot use the same matrix as both input and output.
In other words, this is will not work: multMat(A, B, A) or multMat(A, A, B).
Once you have implemented multMat(), you can compose transformations together.
If you move the cube away from the camera and rotate by 0.5 radians about the y-axis, you should see this.
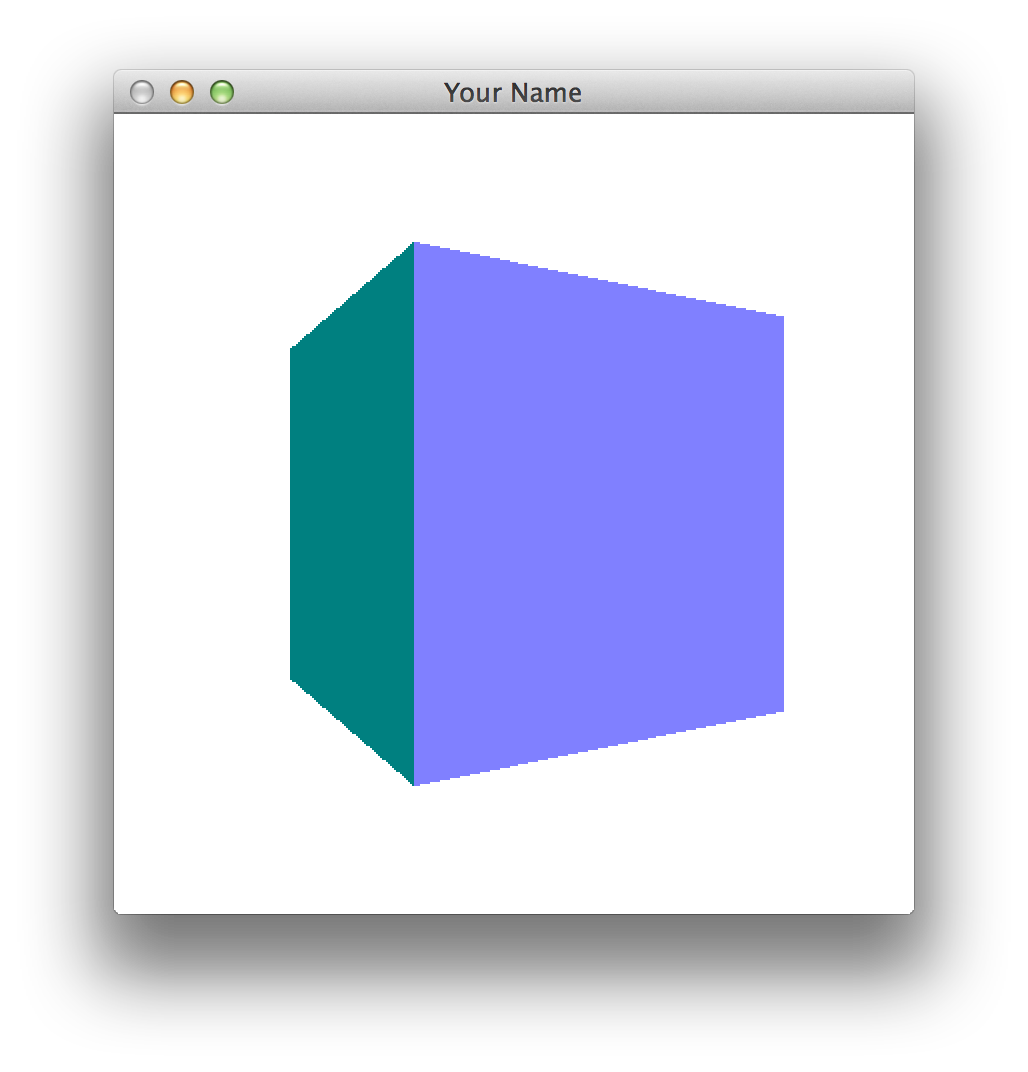
The order of matrix multiplication is really important! Make sure you understand how this works.
Task 3:
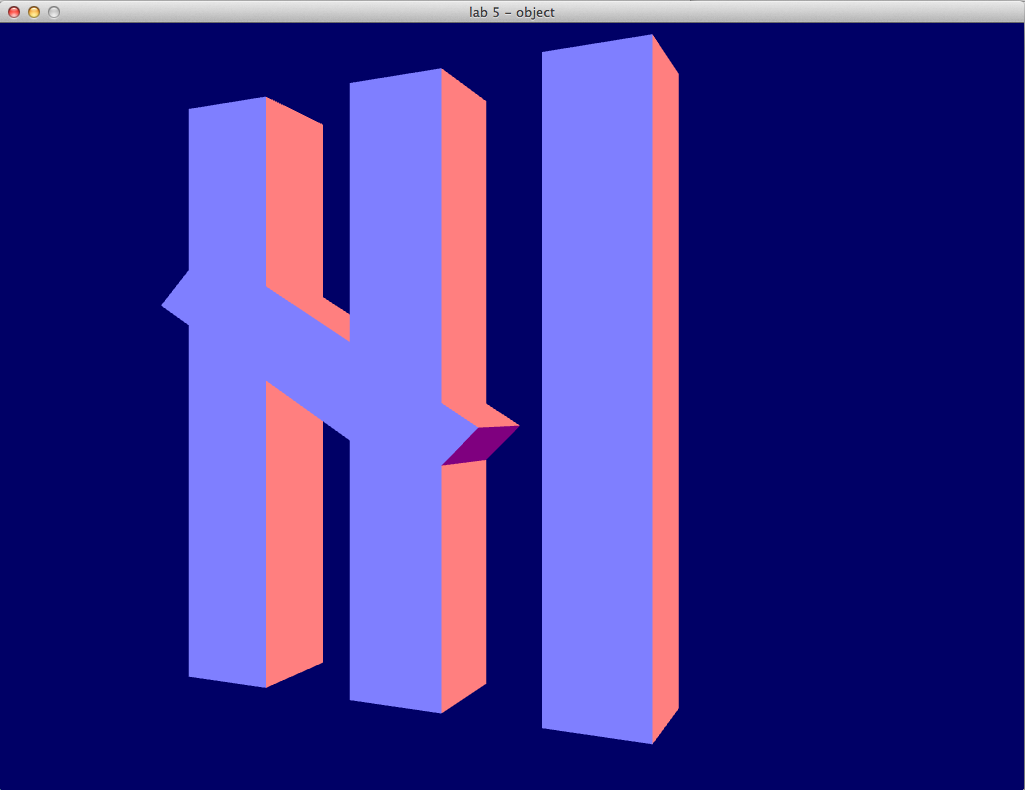
Create the greeting “Hi” by drawing a transformed cube three times.
In order to do this, you’ll have to call glUniformMatrix4fv() and glDrawElements() multiple times.
For each part of the letter H you will need to apply multiple transforms.
Your result should look something like this.
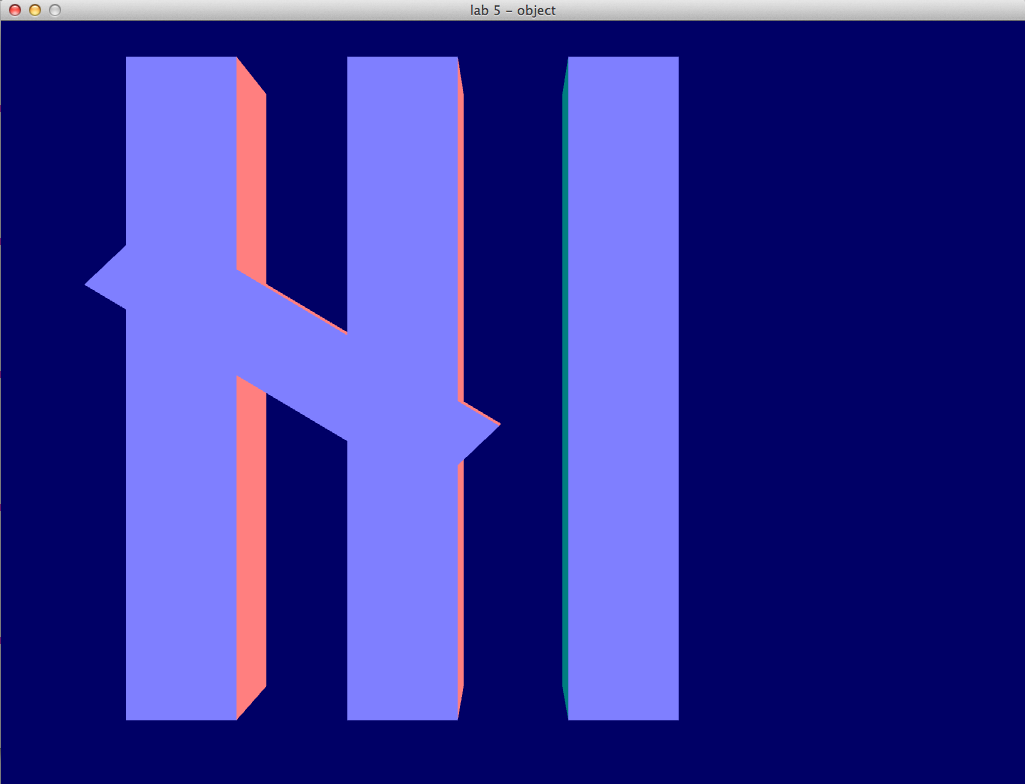
Think about how you would rotate the letter as a whole, so that it looks like this. Then do it.