Lab 6 - Hierarchical Modeling
The base code for this lab can be found on GitHub here
This assignment is due on Friday 2/16.
Today’s lab we will play with simple hierarchical modeling and the use of a matrix stack to apply multiple transforms in a hierarchical manner.
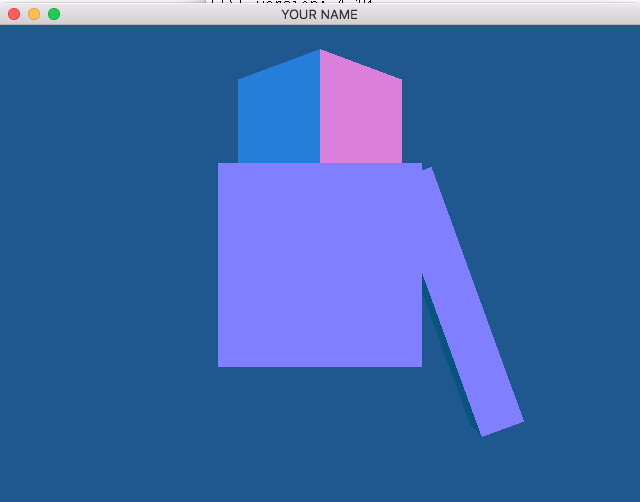
The base code provided already draws the above figure, next:
Step 1
Closely follow the slide presentation on hierarchical modeling and create a complete robot chest including torso, two arms and head. Each arm must include 3 pieces and one of the arms must animate using hierarchical modeling:
a. The arm should include a forearm, upper arm and hand
b. The forearm should attach to the upper arm at an elbow joint
c. The forearm should be able to be rotated about the elbow joint
d. The entire robot should be able to be translated (along X is fine – link this movement to a keyboard event, a to move left and d to move right).
e. The entire arm should be able to be rotated about a shoulder joint in the upper arm.

Step 2
You should set up the robot and the animated arm in the scene in a reasonable position and orientation (i.e. so that it looks like a robot with arms). You will need to demonstrate bullet points c-e.
Demonstrate (c), by linking the c key to adding a rotation to the elbow joint.
Likewise for (e), do this by controlling the position and orientation through keyboard events or mouse events.
Step 3
Finally add a default animation of the arm waving (i.e. have the robot wave “hello”).
Make the motion realistic by constraining the range of angles that the arm can move.
Do not make myself or the TA tell you what a wave should look like.
Trigger the animation via keyboard event x that should allow the animation to start and stop with the same key.
Extra credit: Feel free to be creative and add extra elements as you’d like, e.g. a detailed hand, or torso, or the rest of the robot. Worth an additional 10% of this lab assignment’s grade.